
ClaudeButtons
Claude Code on your Elgato Stream Deck. Approve permission prompts, see what Claude is doing, and drive your workflow, from physical buttons.
macOS + Windows (beta) · Stream Deck 7.1+ · Free & open
Claude Code on your Elgato Stream Deck. Approve permission prompts, see what Claude is doing, and drive your workflow, from physical buttons.
macOS + Windows (beta) · Stream Deck 7.1+ · Free & openThe ClaudeButtons layout, live on a 15-key Stream Deck.
Grab the download above and double-click it. The Elgato Stream Deck app installs it (you'll need that app running) and a ClaudeButtons category appears in its actions list.
ClaudeButtons ships a ready-made profile, so the app installs it and switches to it automatically: approvals in the top corners, the live Status, Activity and Question indicators down the center, workflow keys around them. Nothing to drag, and the plugin wires its Claude Code hooks in for you. Prefer your own layout? The profile is fully editable.
Start a fresh Claude Code session so it picks up the hooks. That’s it.
Permissions: the approval & status buttons need nothing. The buttons that type into Claude or capture the screen will trigger a macOS permission prompt the first time you press them. Approve under System Settings › Privacy & Security.
When Claude Code needs permission to run a command, edit a file, or fetch a URL, ClaudeButtons lights up a key on your Stream Deck. Tap Allow, Deny, or Always, and glance at a live Status key to see whether Claude is working, waiting on you, or done.

The Status key reads out what Claude’s doing: Editing, Running, Waiting…, Your turn.

Workflow keys: Commit & Push, Update Docs, Screenshot, Fix Last Error.
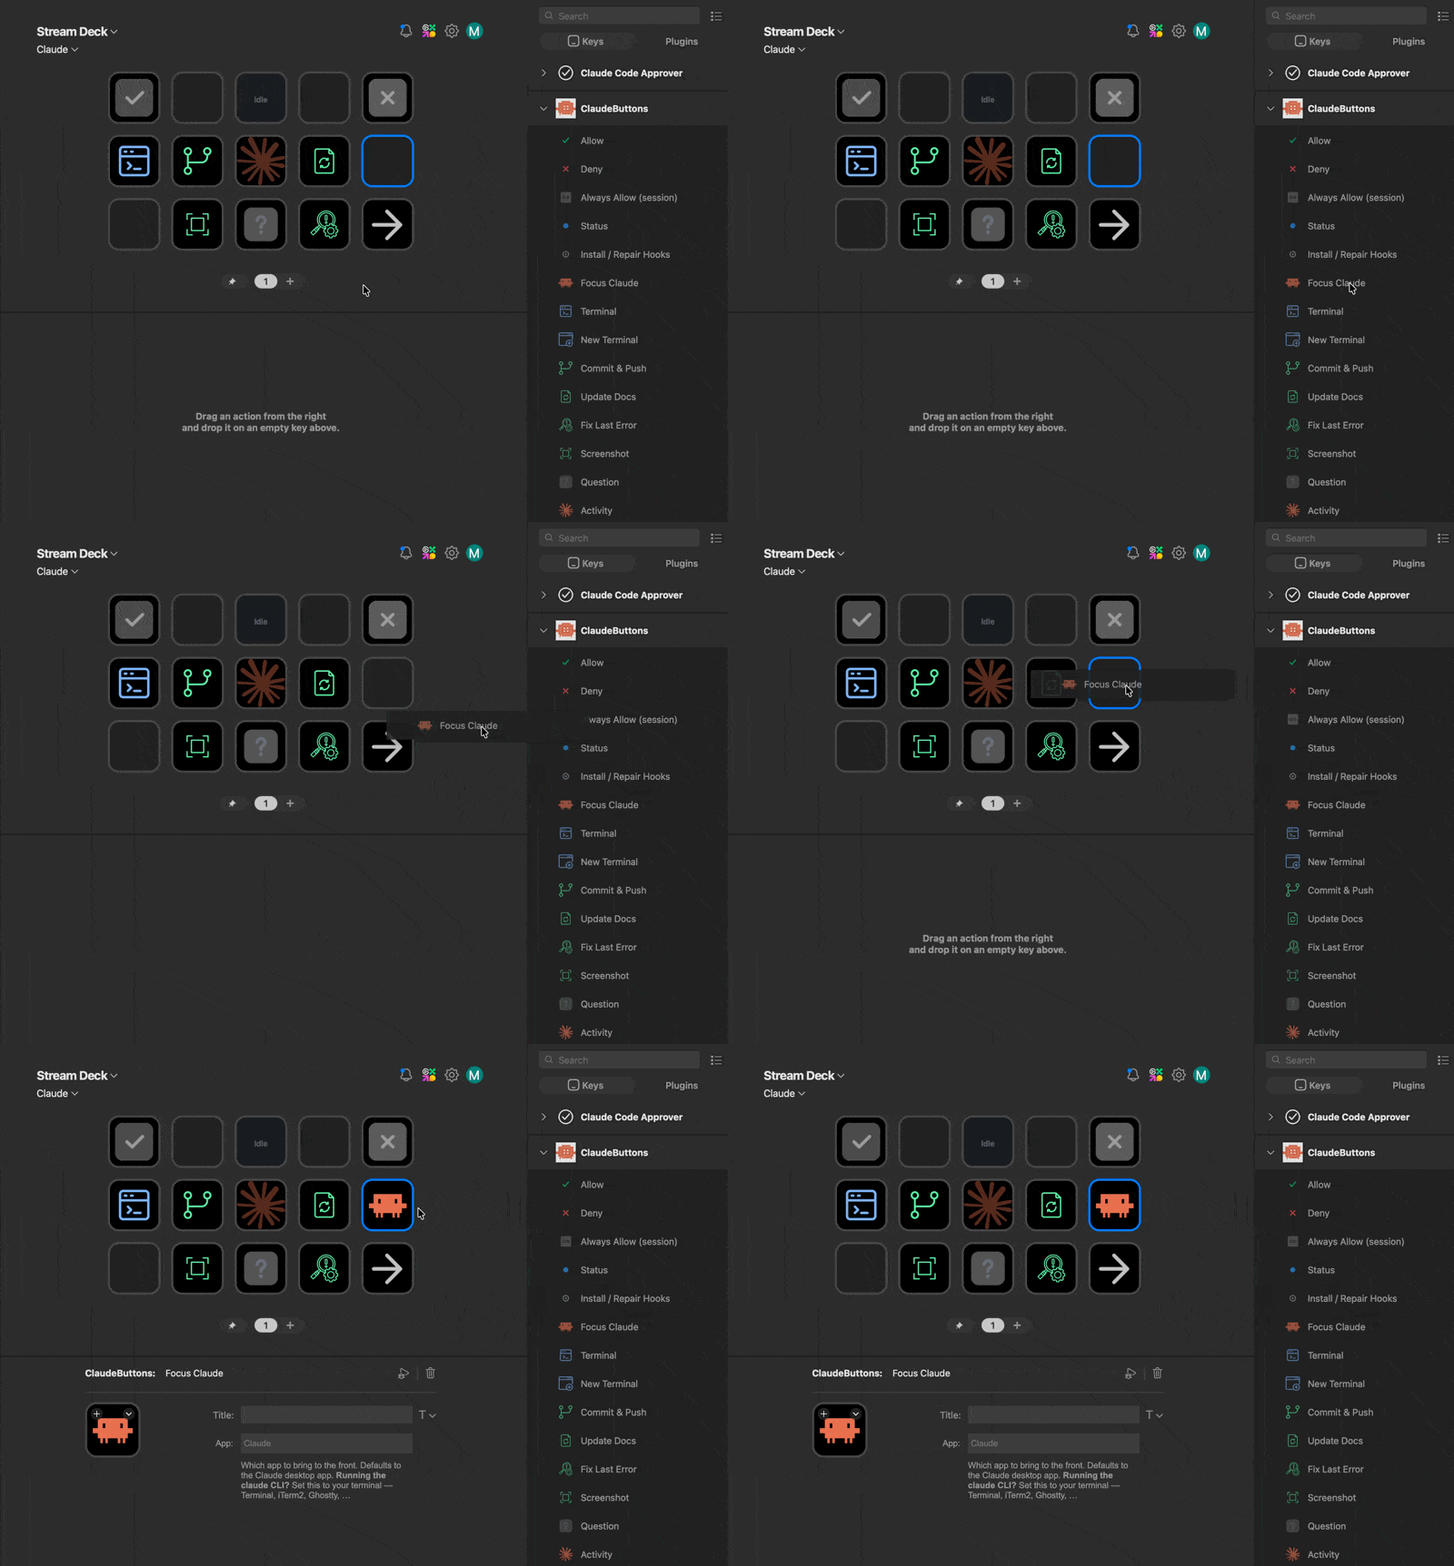
Some of the buttons available with the ClaudeButtons profile.

Your deck lays itself out from the bundled ClaudeButtons profile, no dragging required. Want a custom setup? Every button is also there to drag onto any profile.
Works with the full Elgato Stream Deck lineup: Mini, MK.2, XL, Neo, and Stream Deck +.
claude CLI, so Allow / Deny / Status work with no changes.claude session after installing.Terminal, iTerm2, Ghostty, …The deck lights up only when Claude actually stops to ask. Anything already on your allow-list is auto-approved and never reaches the deck.
irm https://claude.ai/install.ps1 | iex) and the Stream Deck app.Windows is in beta. The approval & status buttons (Allow, Deny, Status, Activity, Question) and Focus work today. The typing and capture helpers (Commit & Push, Update Docs, Screenshot, Fix Last Error) are macOS-only for now, and coming to Windows.
You don't need the hardware. Stream Deck Mobile turns your iPhone or Android into a Stream Deck, and ClaudeButtons works there exactly the same. The free version gives you a small grid of buttons, plenty for the essentials like Allow, Deny, and Status.
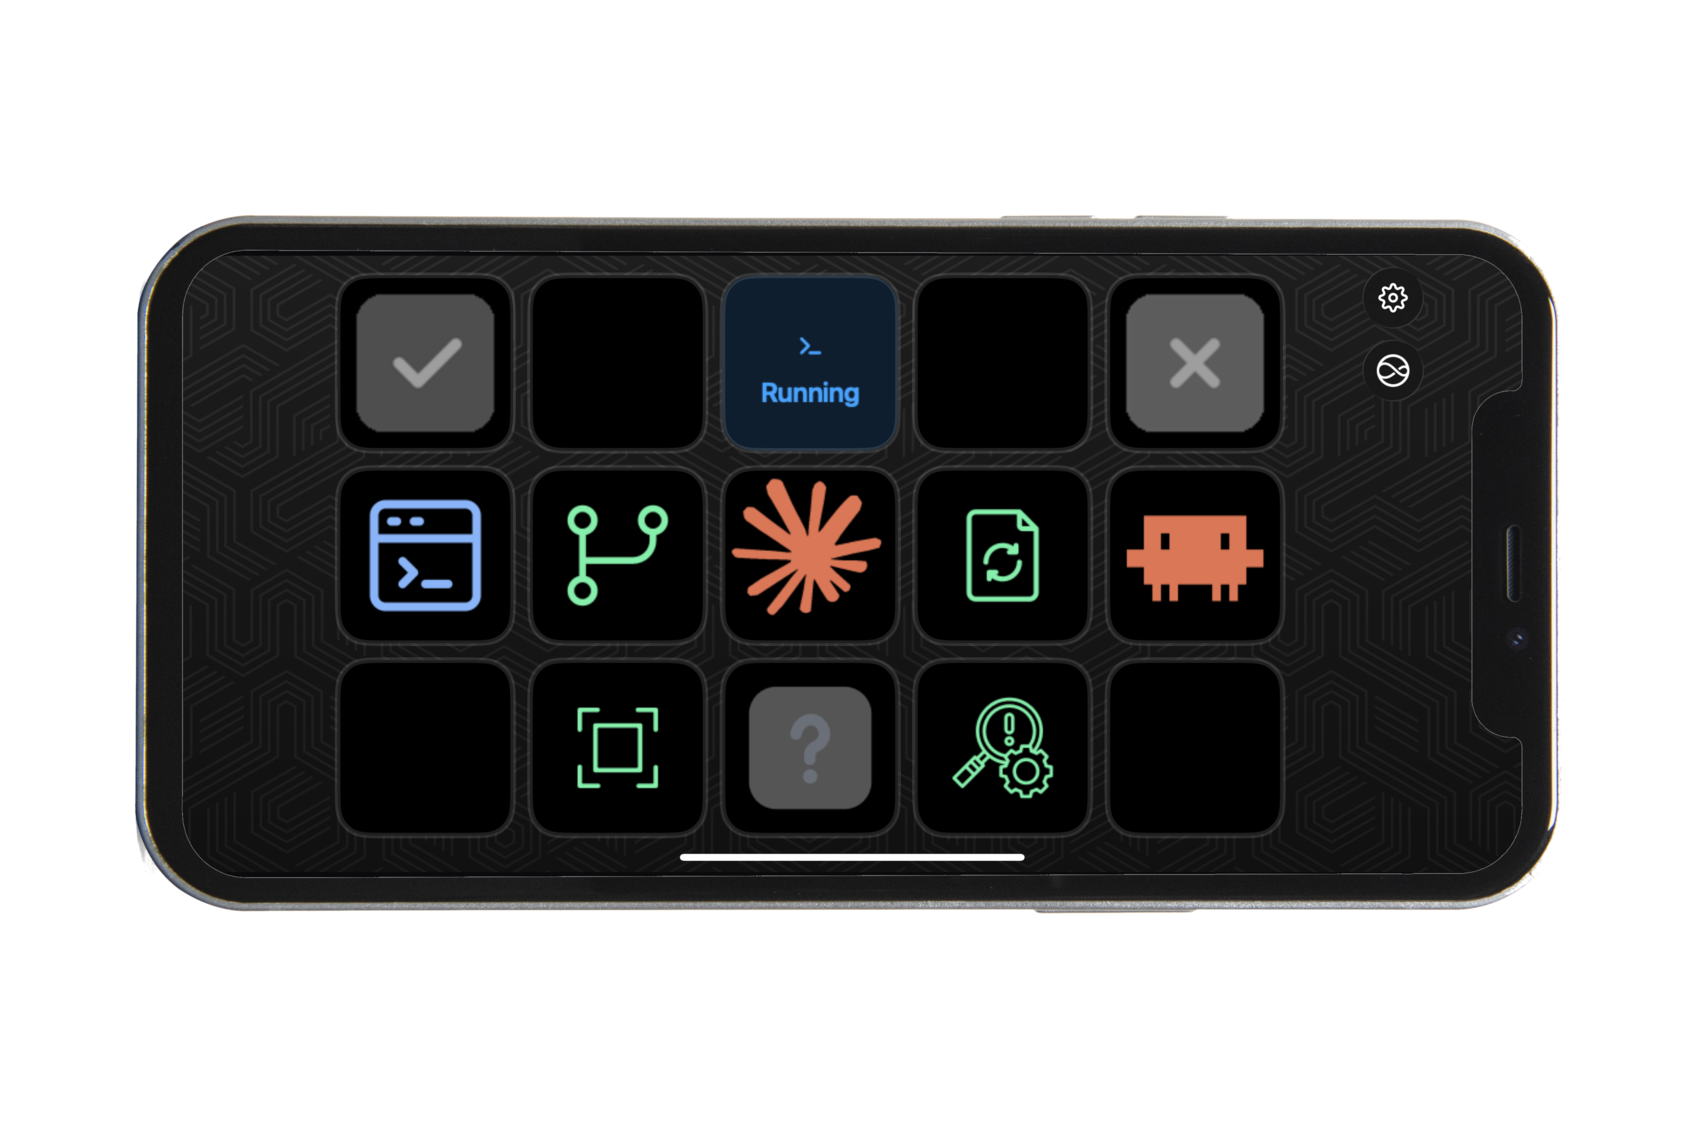
How it works: the plugin runs in the Stream Deck app on your Mac, right where Claude Code already lives, and your phone connects over Wi-Fi to become the button surface. Install ClaudeButtons on the Mac the normal way, then either drag the buttons from the ClaudeButtons category onto your phone's grid, or grab the ready-made profile below, import it, and switch your phone to it.
A transparent plugin that touches as little as possible. Here's exactly what it does.
~/.claude/settings.json and touches nothing else. Your existing config and allow-rules stay exactly as they are.